Why Choose PAULSON

Masters of the Art
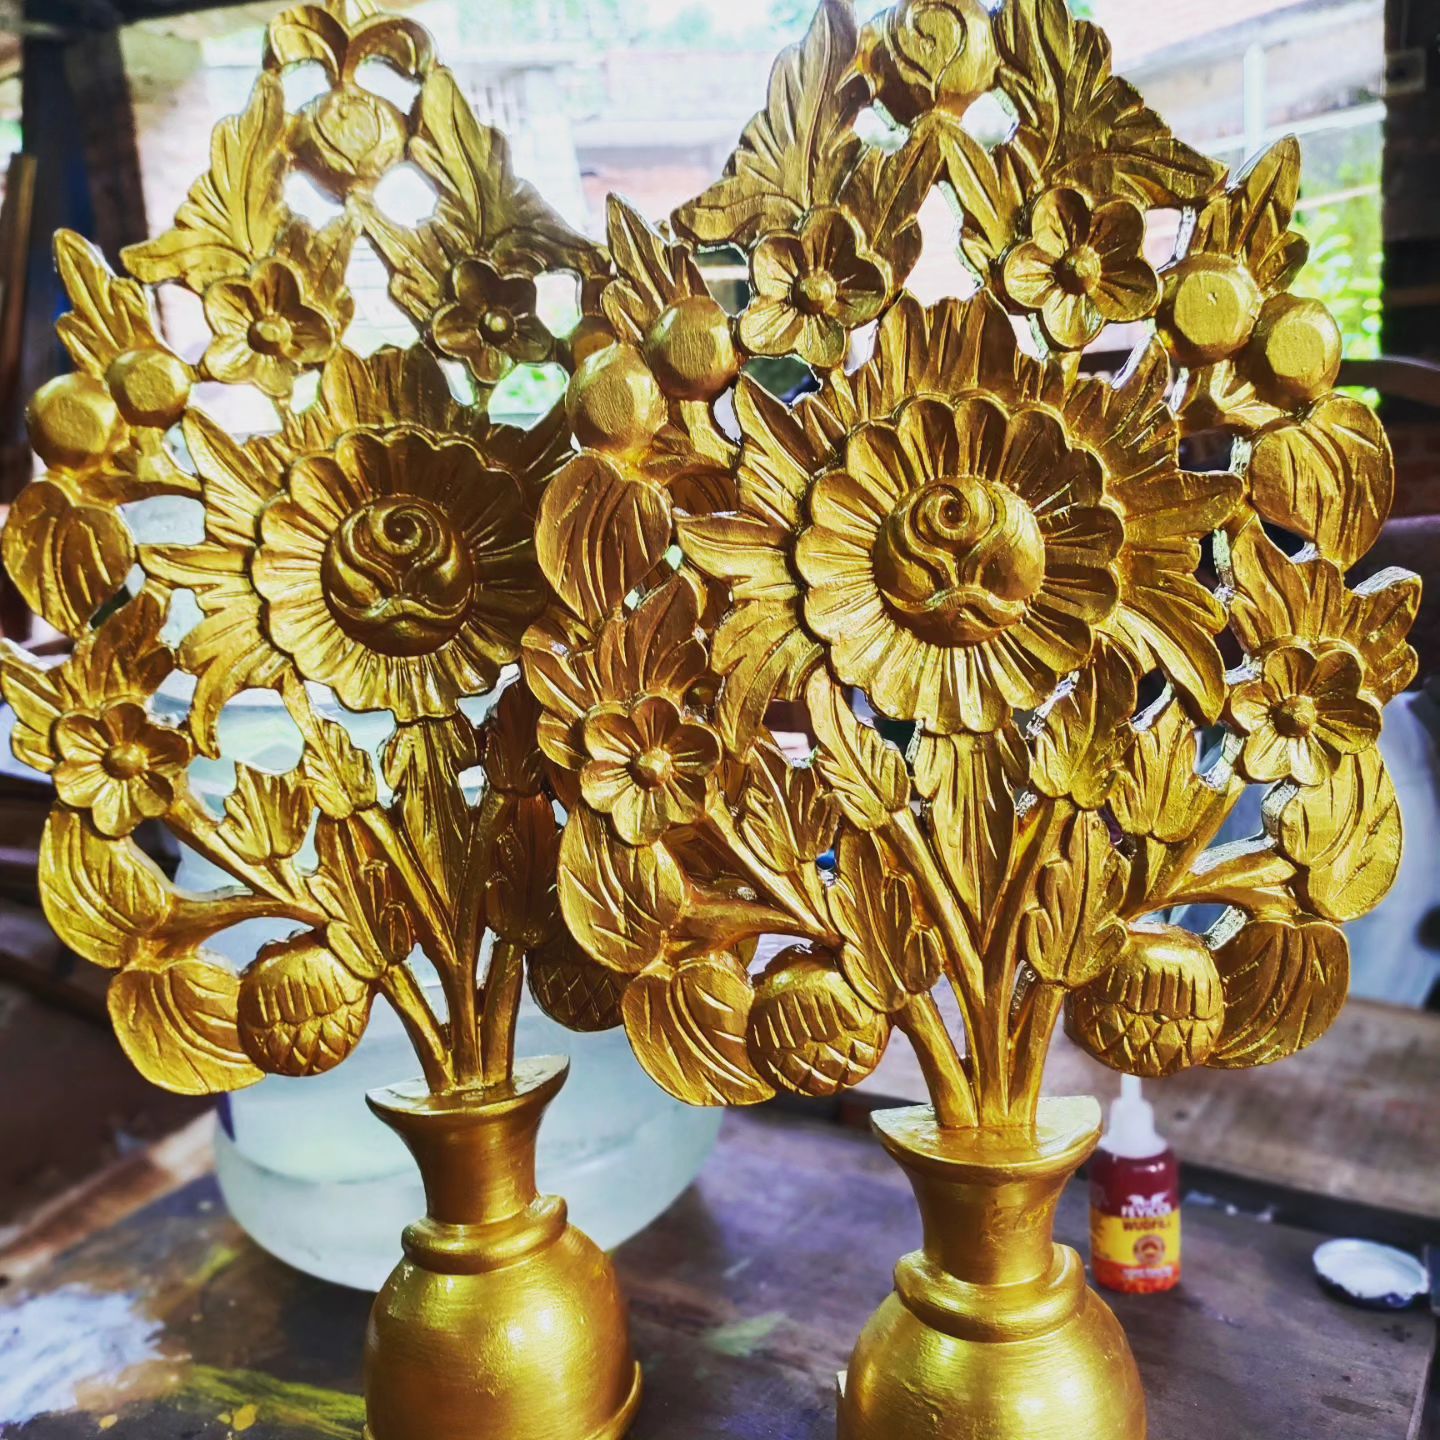
At Paulson, we view craftsmanship as the soul of our creations. Our artisans, with their honed skills and creative brilliance, stand as masters of their craft. Every stroke of the chisel, every bend of the metal, and every curve of the wood is a symphony of expertise. Our dedication to craftsmanship goes beyond the finished piece—it's a journey that involves understanding materials intimately, blending tradition with innovation, and infusing each creation with the artisan's unique touch. When you choose Paulson, you're choosing the embodiment of true artistry

Uncompromising Standards
At Paulson, quality isn't just a standard; it's our promise. We meticulously select materials that meet our stringent criteria for durability, aesthetics, and sustainability. Our commitment to delivering excellence drives us to employ time-tested techniques that ensure every detail is perfect. We embrace modern technology where it enhances the end result. From the first cut to the final polish, our focus on quality remains unwavering. When you invest in Paulson, you invest in the assurance of enduring and impeccable quality./p>

35 Years of Legacy
For over 35 years, Paulson has woven a legacy of tradition into every piece we create. Our journey began with a determination to preserve and elevate the art of crafting. Through the passage of time, we've inherited and refined techniques that are steeped in history, combining them with contemporary approaches to achieve a harmonious blend of old and new. Each creation is infused with the collective wisdom of generations past and present. Choosing Paulson isn't just a transaction; it's an embrace of a rich tradition that continues to evolve.